Setting up your iPhone to send and receive your emails is quite straight forward. Simply follow the screenshots below. The examples are done on an iPhone 8 however they will work with most models.
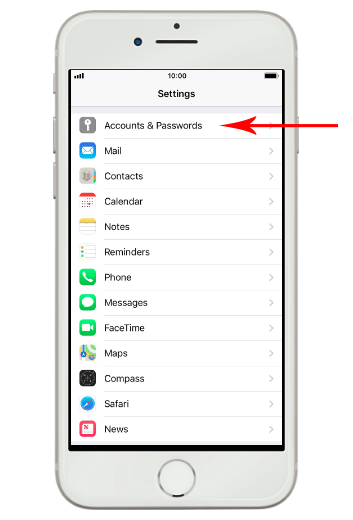
Step 1
- Tap Settings
- Tap Accounts & Passwords

Step 2
- Tap Add Account
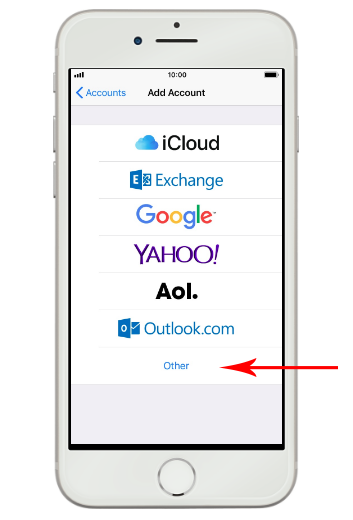
Step 3
- Tap Other
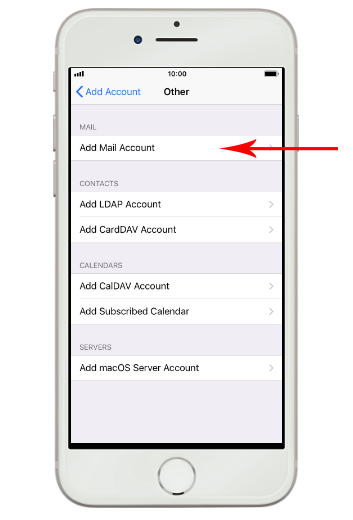
Step 4
- Tap Add Mail Account
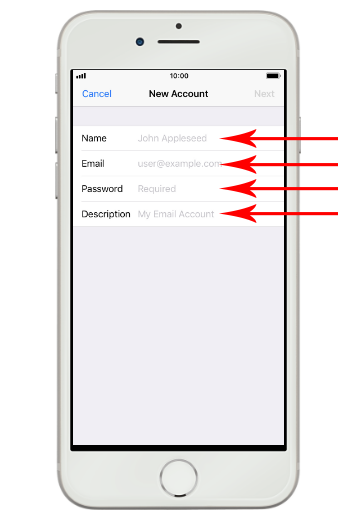
Step 5
- Tap Name and enter your Full Name
- Tap Email and enter your email address
- Tap Password and enter your password
- Tap Description and type a name for this account like “yourdomain.com.au Email”
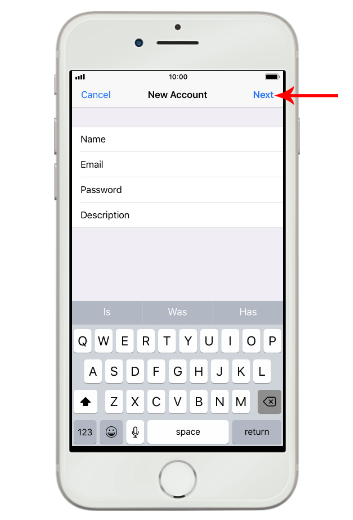
Step 6
- Tap Next
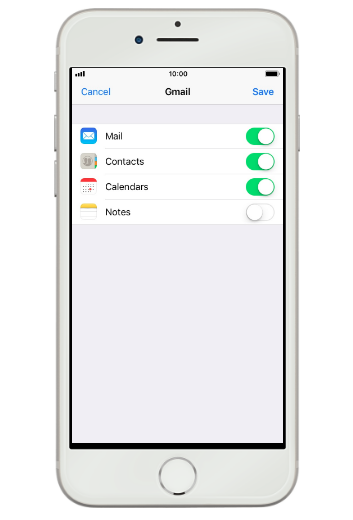
Step 7
- If you get this screen, then your email account has been recognised and setup automatically
- If not, you will get the next screen. Please continue with these steps to complete the process.
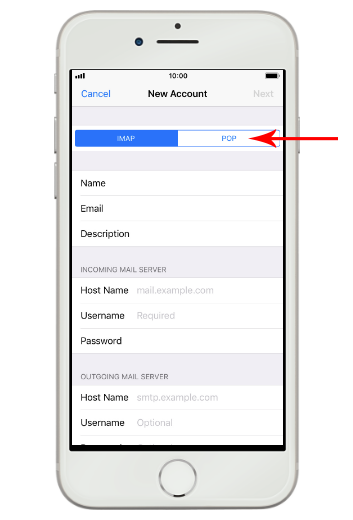
Step 8
- Tap IMAP
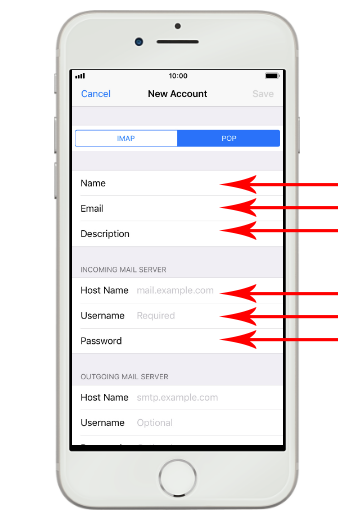
Step 9
- Make sure the Name, Email and Description fields are filled out as per previous step (if not already populated).
- Incoming Mail Server
- Tap Host Name and set to mail.yourdomainname (eg mail.smg.com.au)
- Tap Username and set to your email address that you are setting up.
- Tap Password and set to the email address password
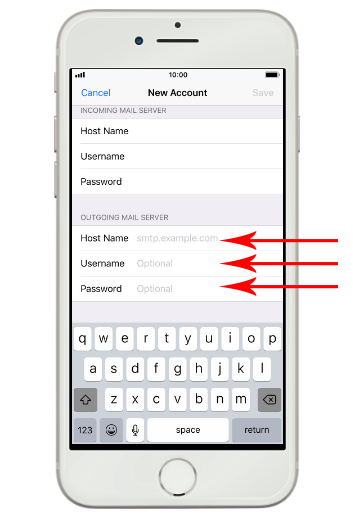
Step 10
- Scroll down a little to Outgoing Mail Server
- Setup Host Name, Username, and Password as in previous step for Incoming Mail Server
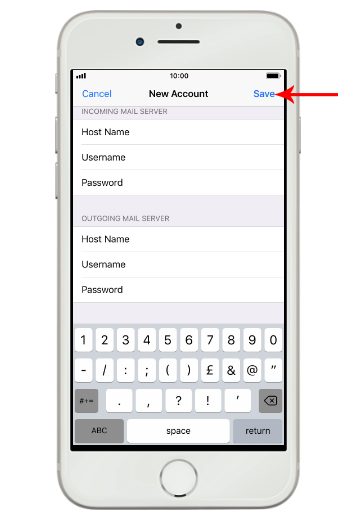
Step 11
- Tap Save. Your email account has now been setup. Please follow the next steps to complete the process.
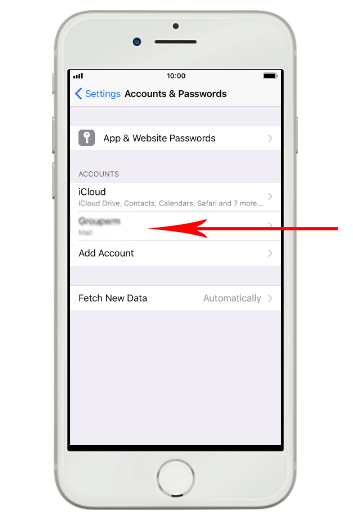
Step 12
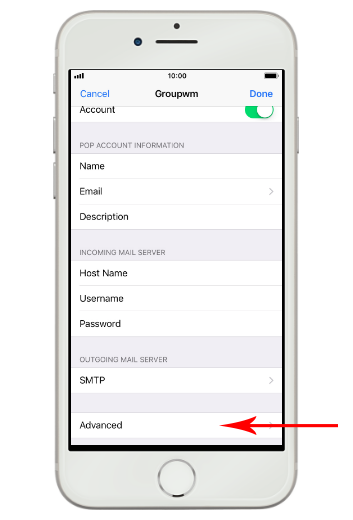
- Tap on the name of the email account that you’ve just created.
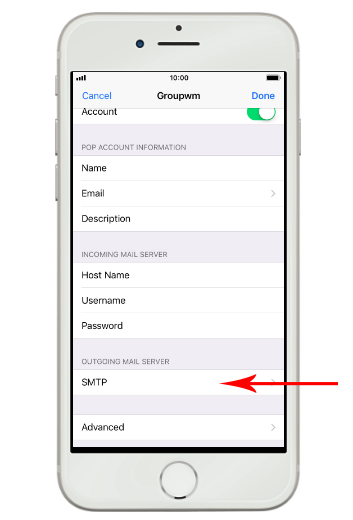
Step 13
- Scroll down and tap SMTP.
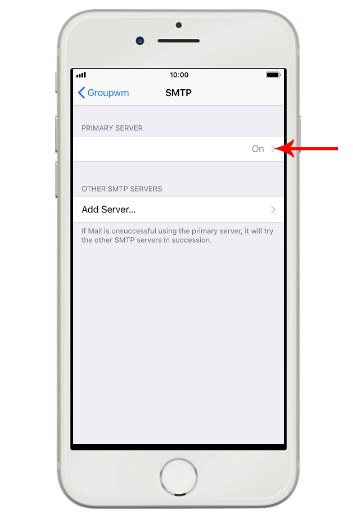
Step 14
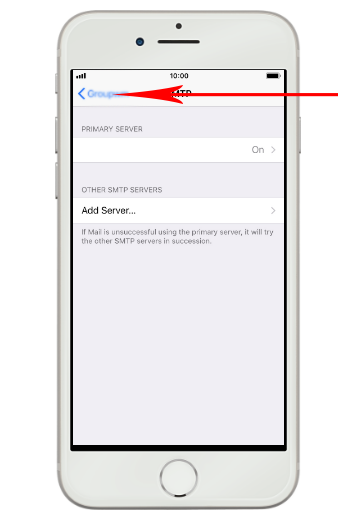
- Tap the field below “PRIMARY SERVER”.
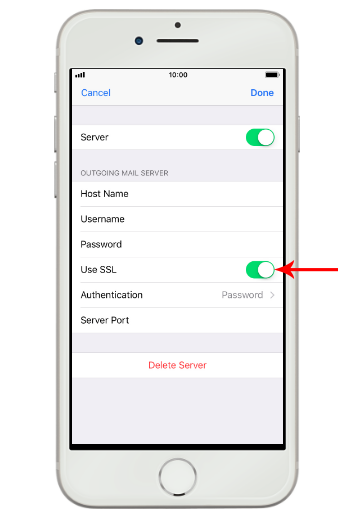
Step 15
- Check the indicator next to “Use SSL” Make sure that it is on.
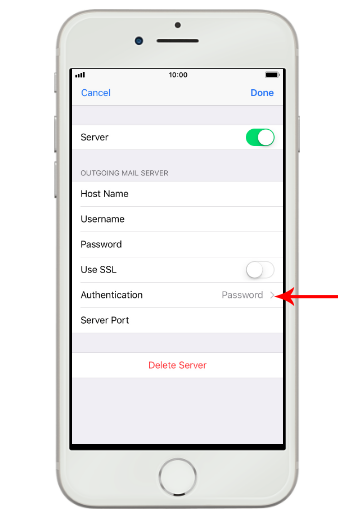
Step 16
- Tap Authentication.
- Make sure it is set to “Password”
- Tap Back to return to this screen
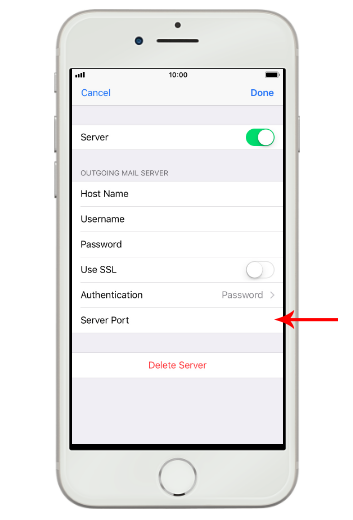
Step 17
- Tap Server Port and key in 465.

Step 18
- Tap Done.
Step 19
- Tap arrow left to go back a screen.
Step 20
- Tap Advanced.
Step 21
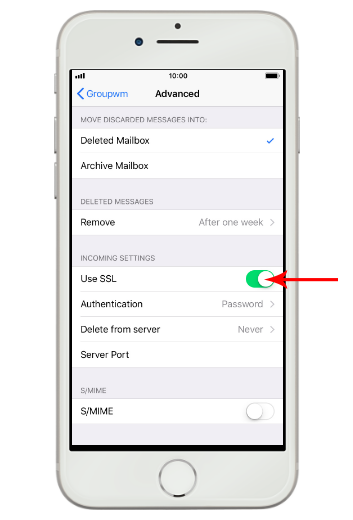
- Check the indicator next to “Use SSL” Make sure its on.
Step 22
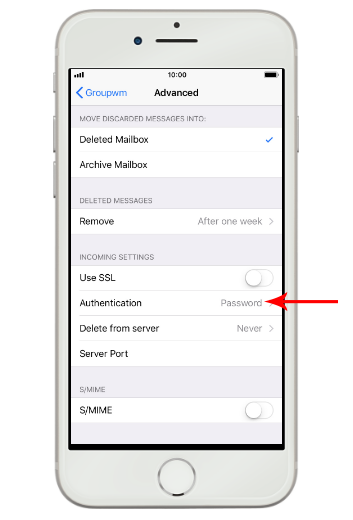
- Tap Authentication.
- Make sure it is set to “Password”
- Tap Back to return to this screen
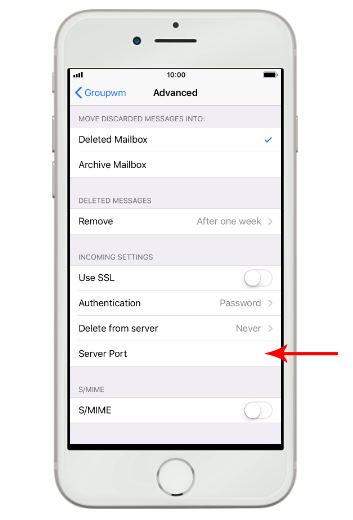
Step 23
- Tap Server Port and key in 993.
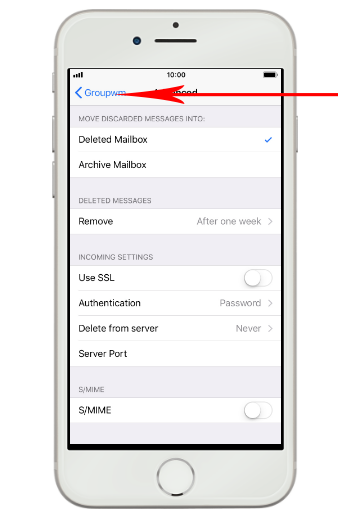
Step 24
- Tap arrow left to go back a screen.
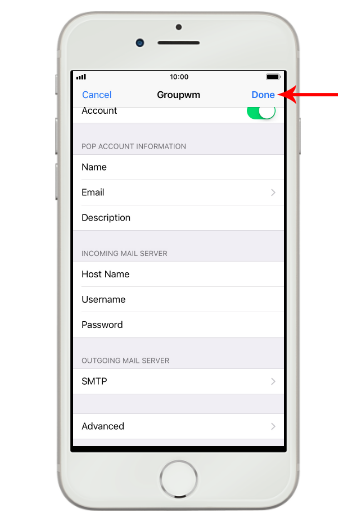
Step 25
- Tap Done.
- Your email account is now setup on your iPhone.